Illusion Still Life
These are my final 6 images for the illusion still life that we did in the studio!
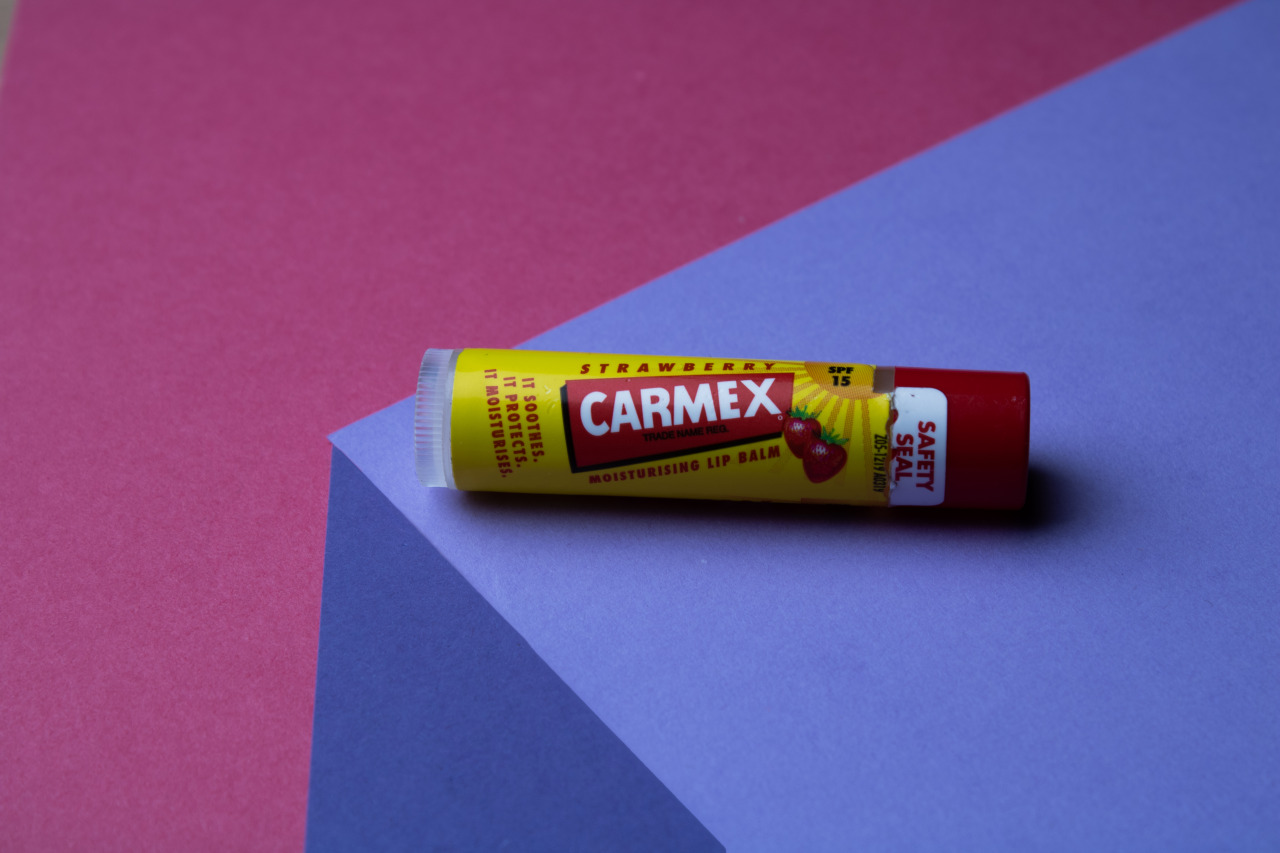
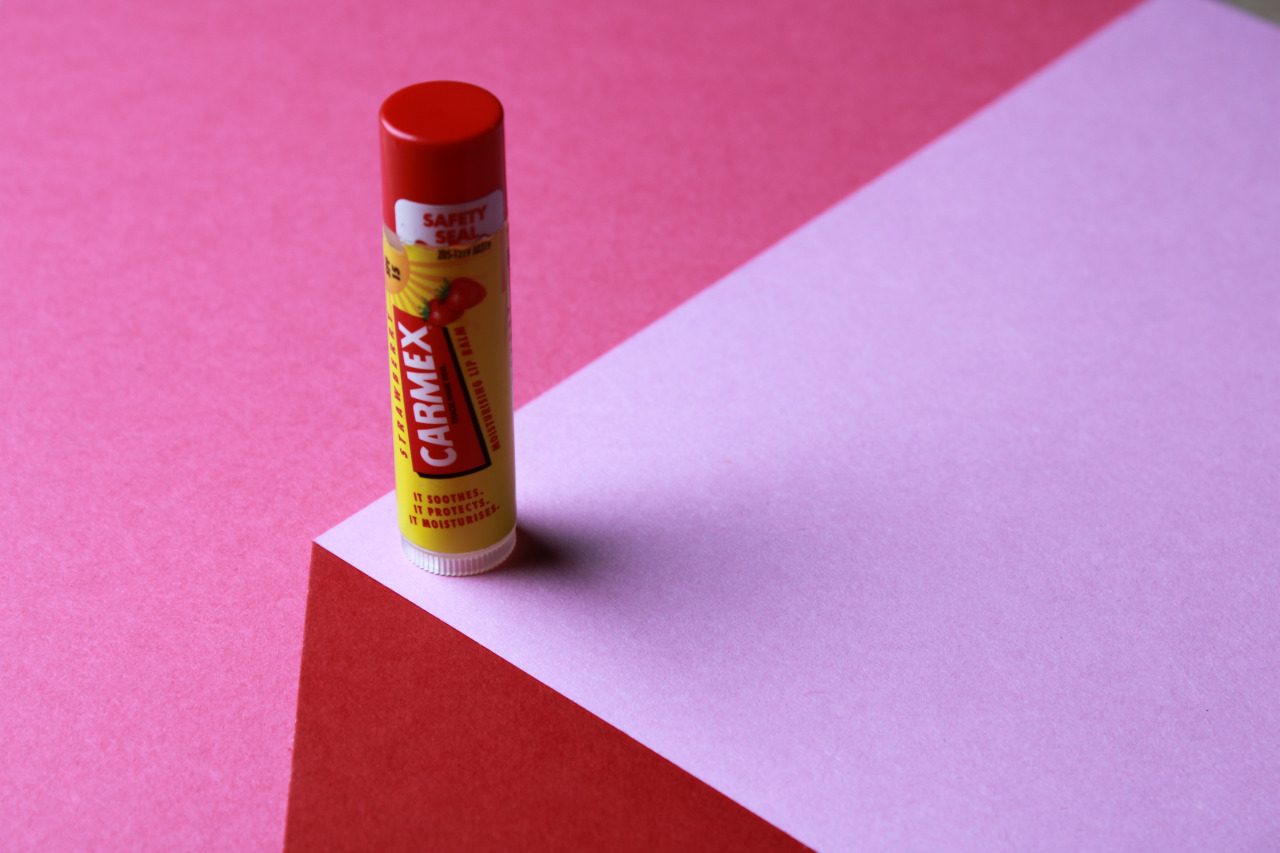
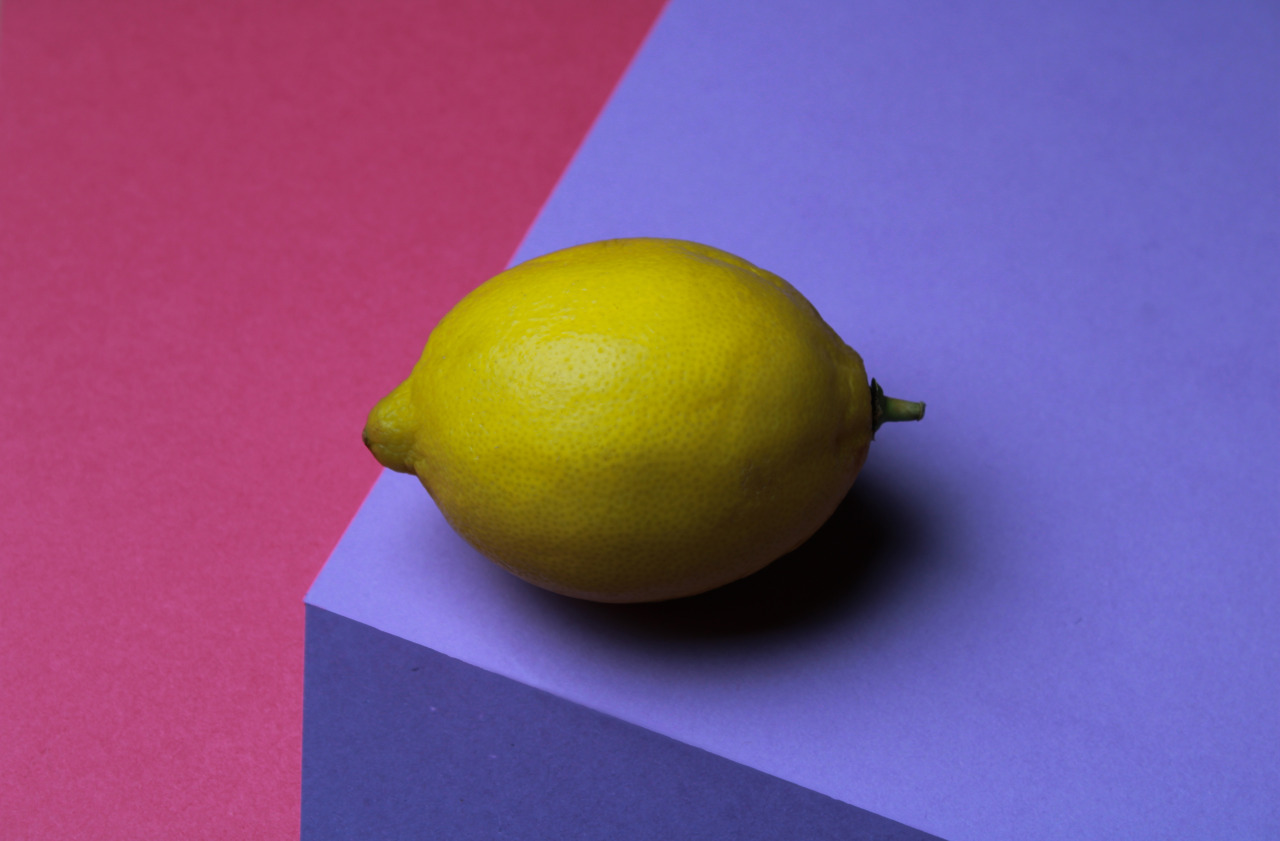
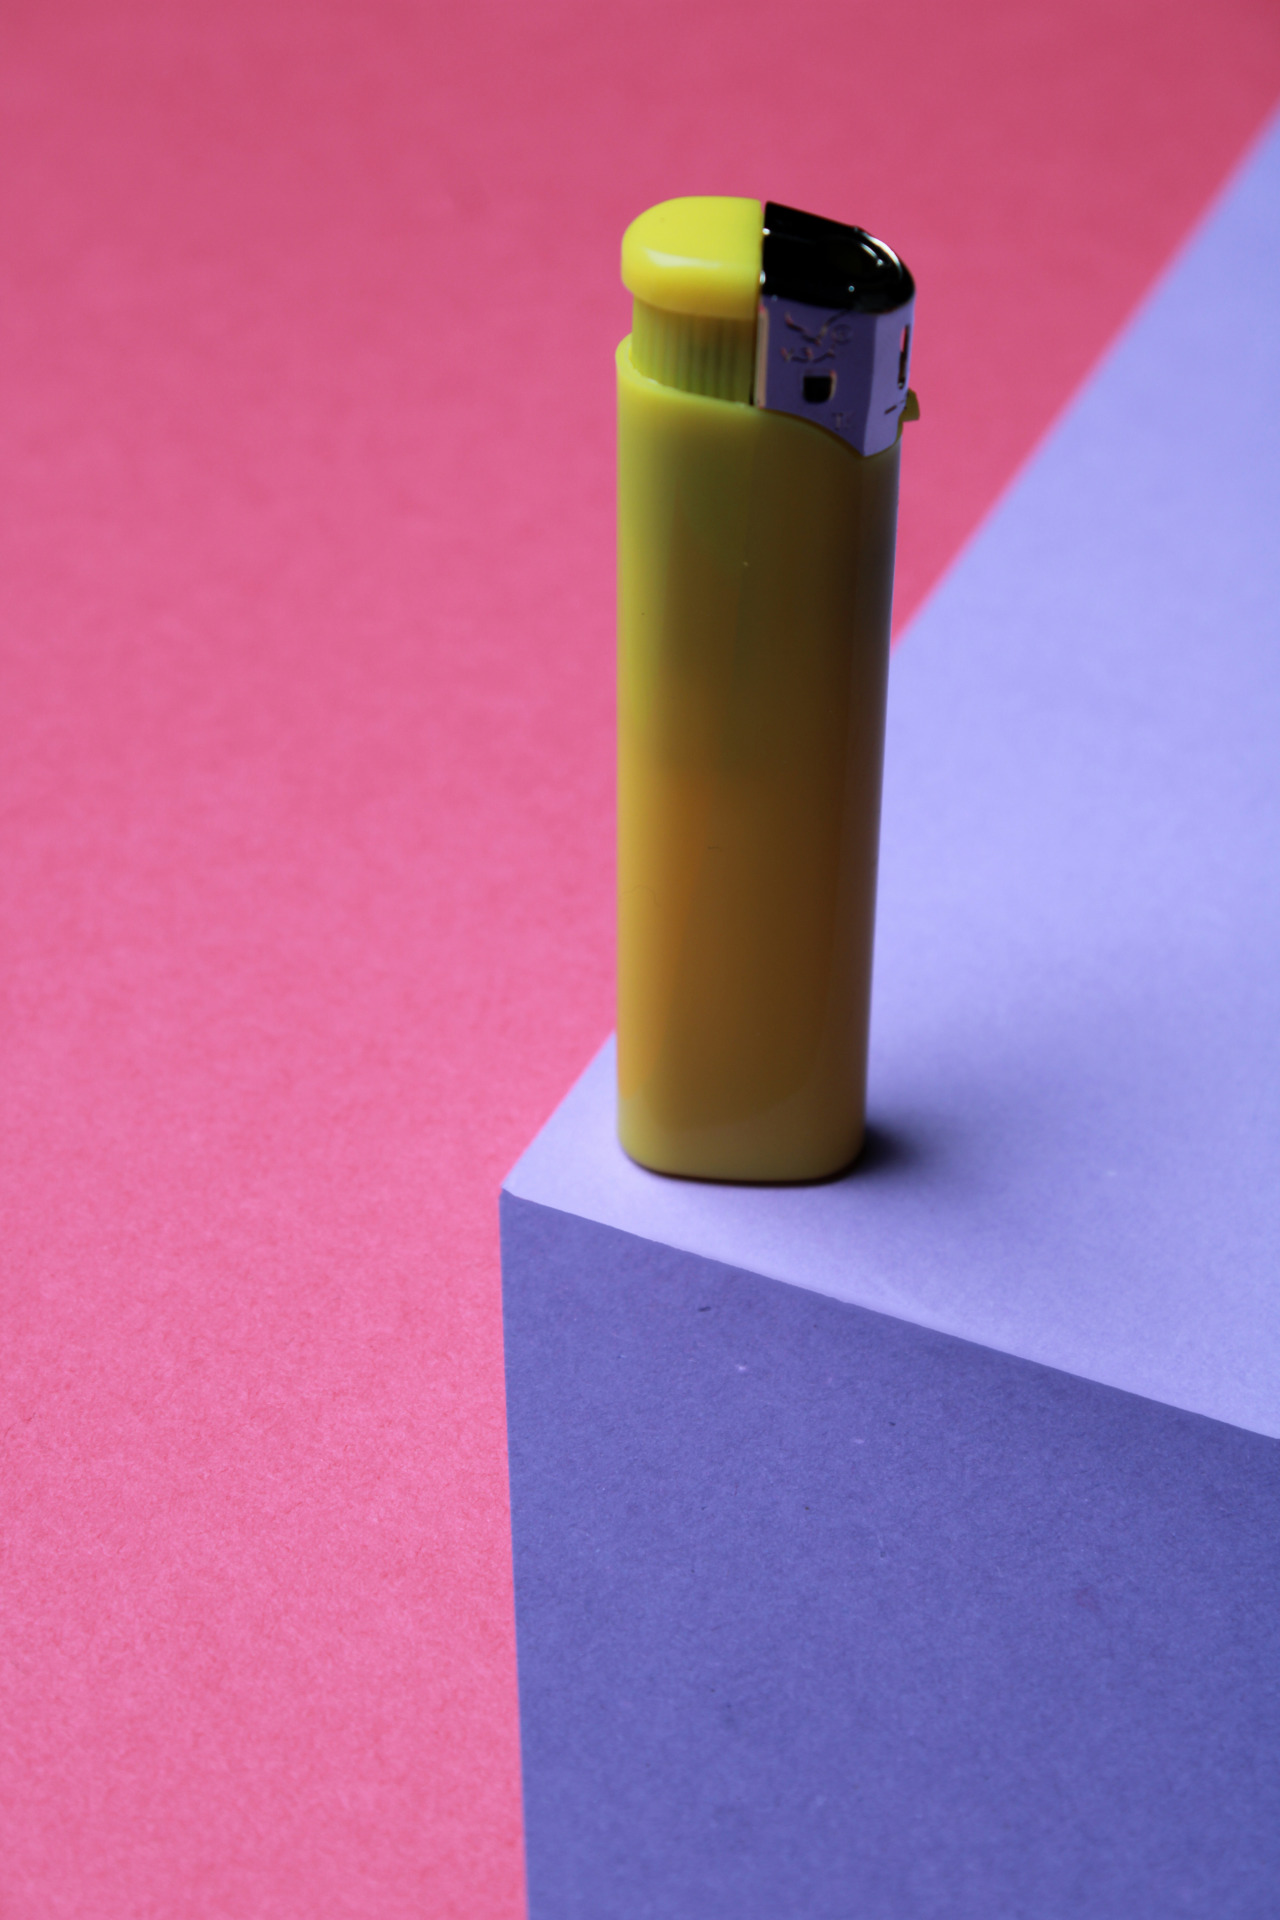
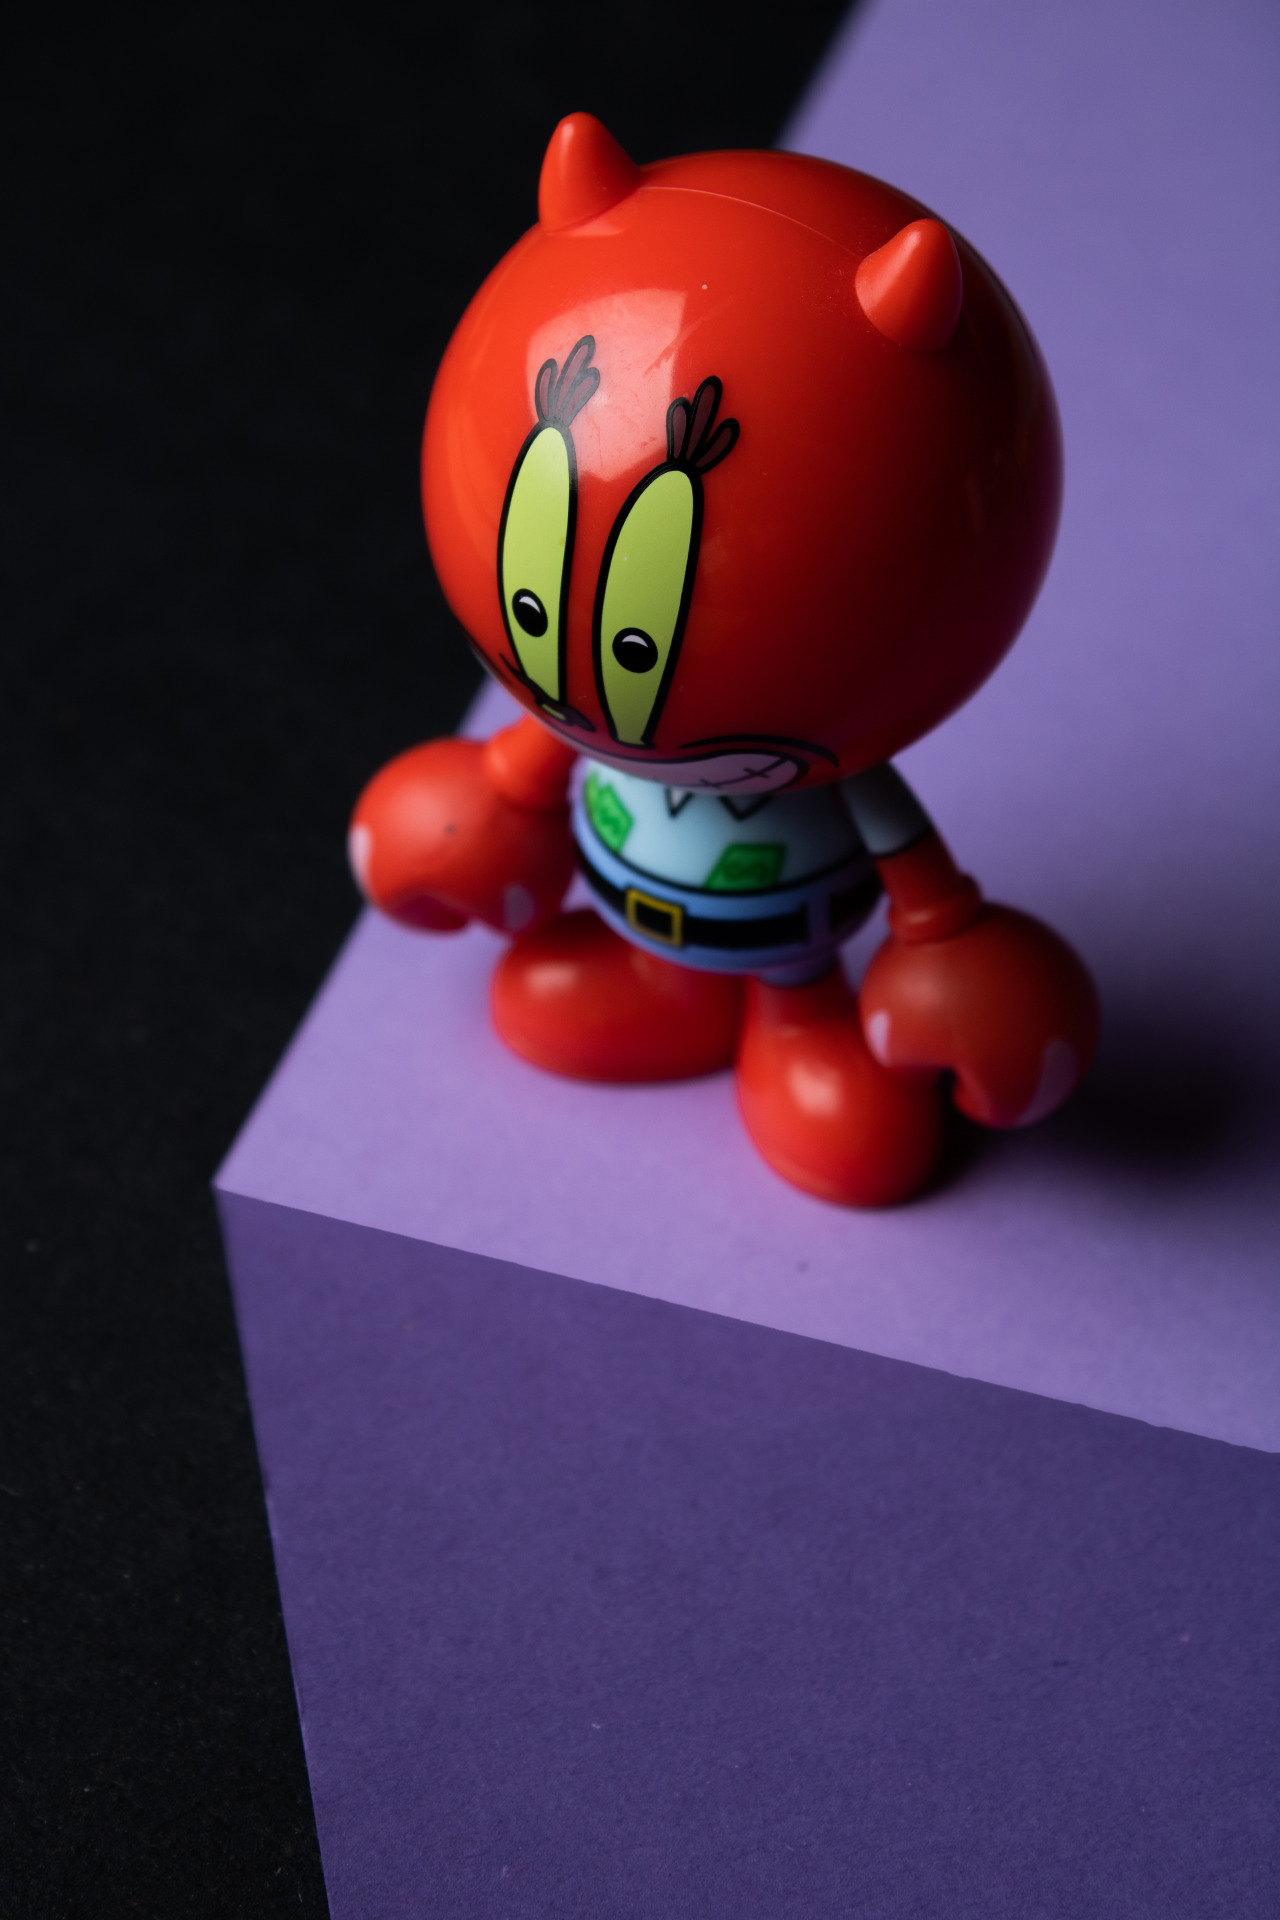
These are my final 6 images for the illusion still life that we did in the studio!
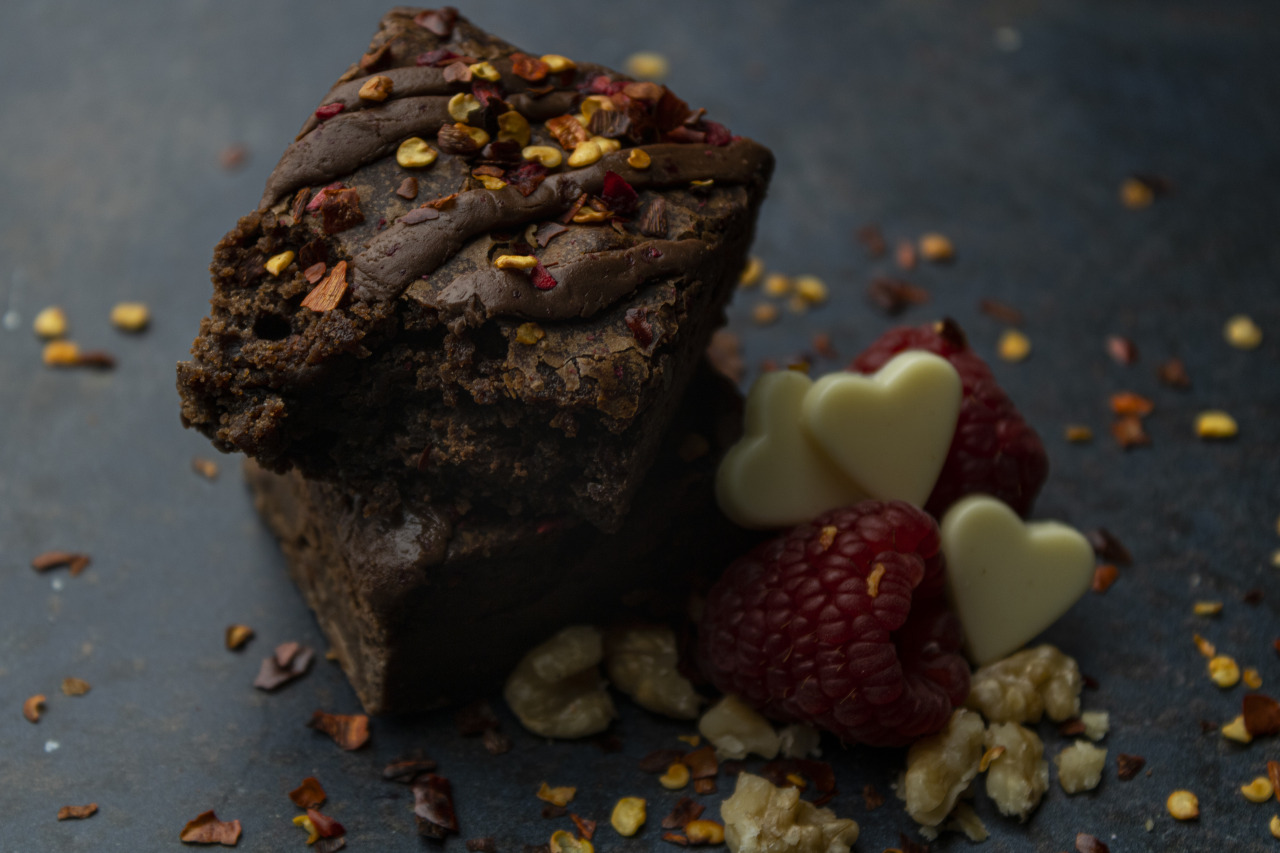
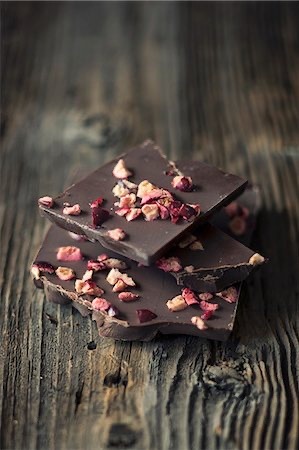
Today in class, we did Chocolate Photography.
To edit my image, I’ve changed the white balance to ‘Auto’ instead of 'as shoot’, because the image looked very yellow/orange and not really 'professional’ looking.
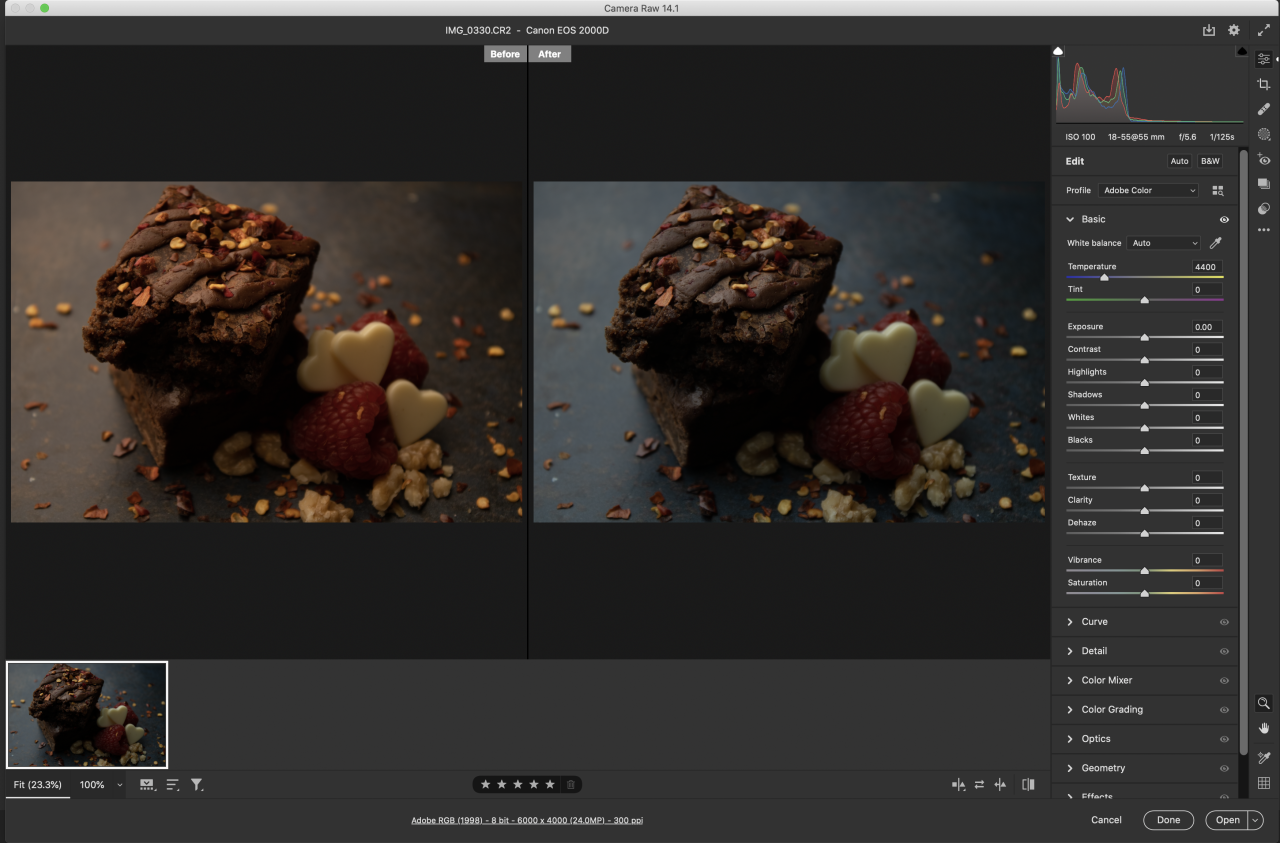
After putting the white balance to Auto, I’ve increased contrast, texture, clarity and saturation.
I have also selected the darkest parts of the brownie and made them lighter to show the details.

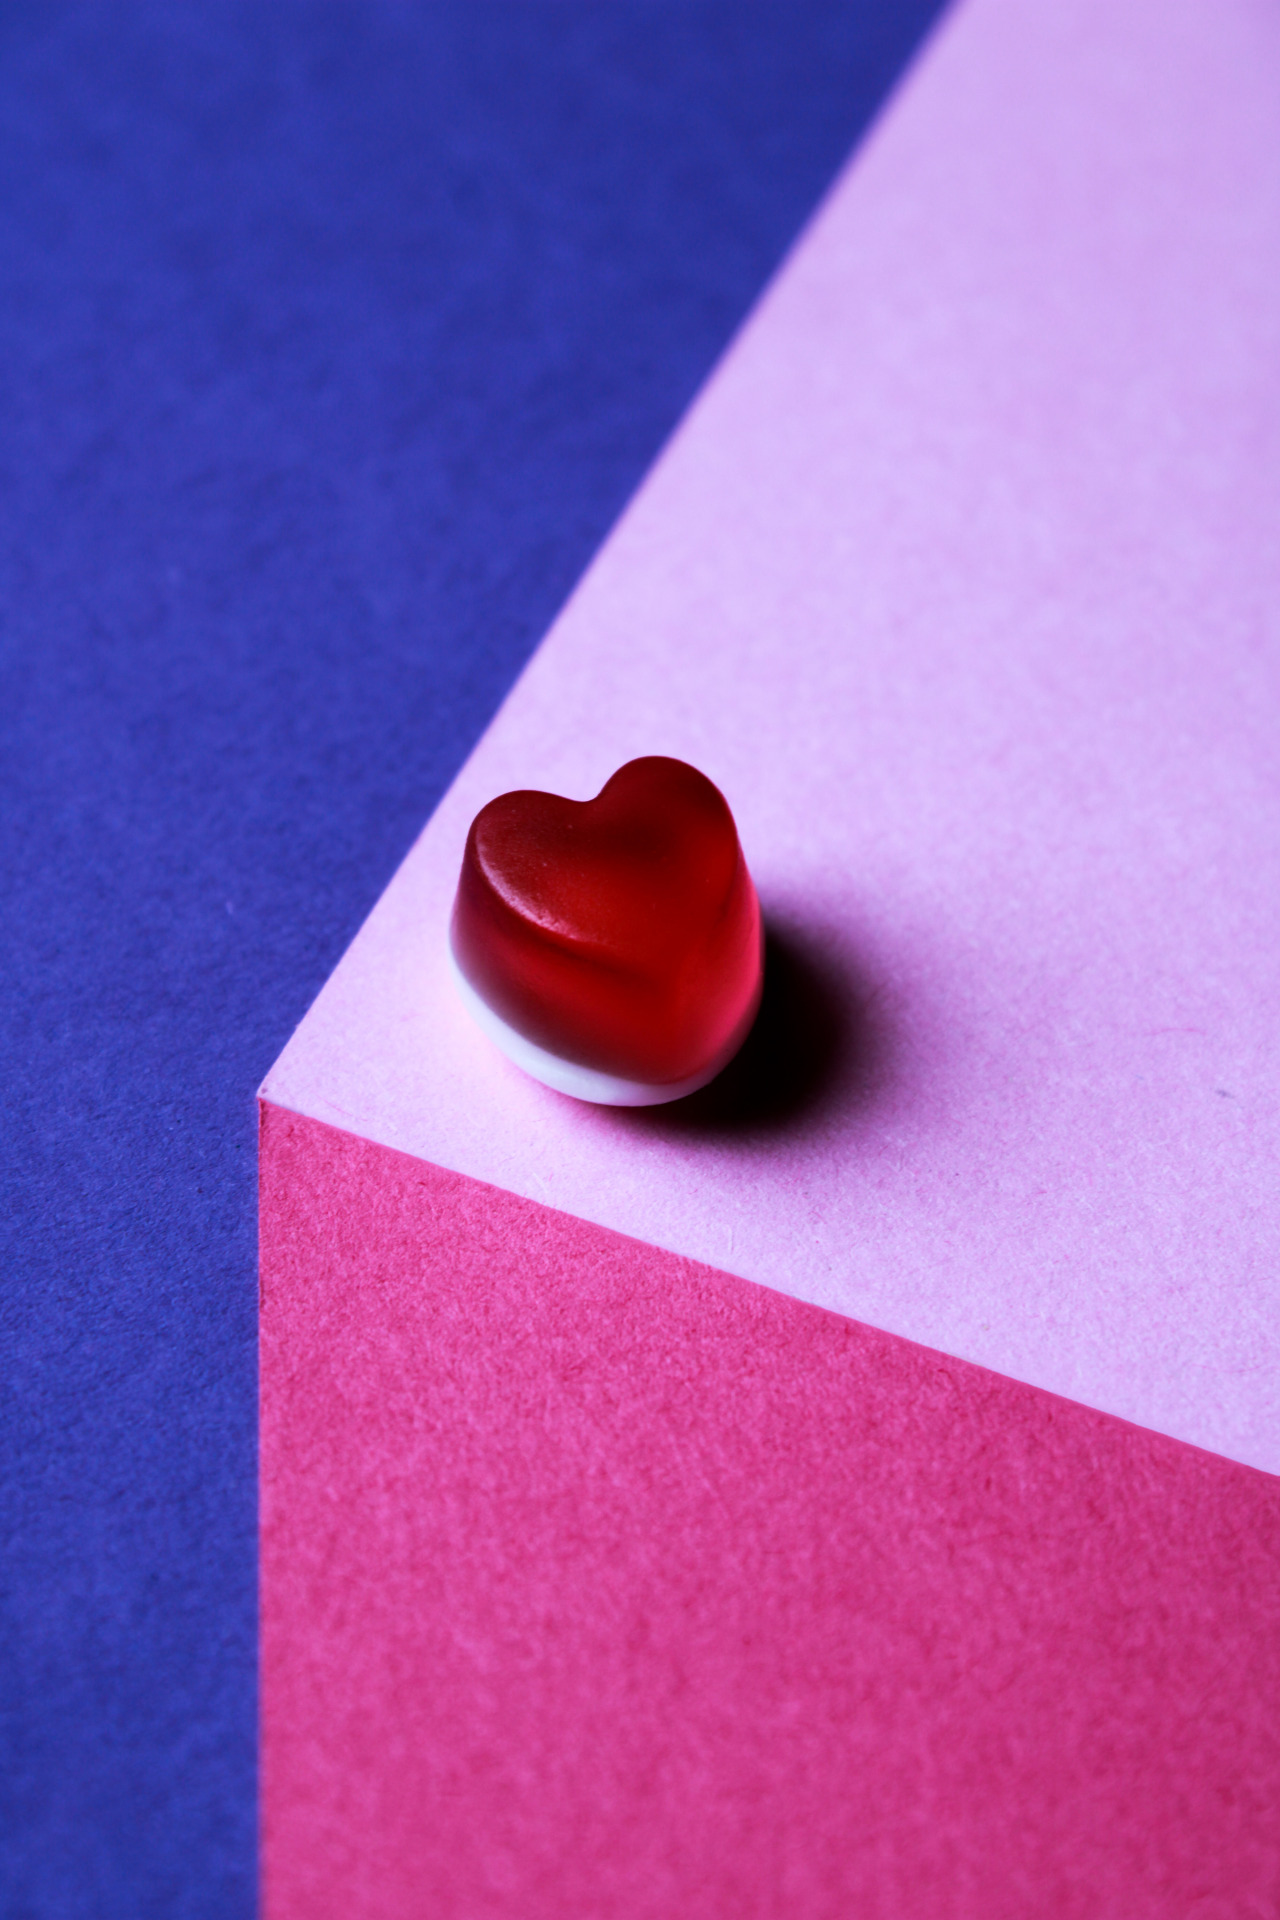
I’ve picked these images for inspiration for my chocolate shoot. I’ve picked them because they all have a special element included such as: raspberries, chocolate flakes and other additional stuff sprinkled on top.
I’m going to try my best to emulate these although the chocolate and the ingredients I’m going to have might be a little bit different than on the photographs but I will have to improvise as I go! :)


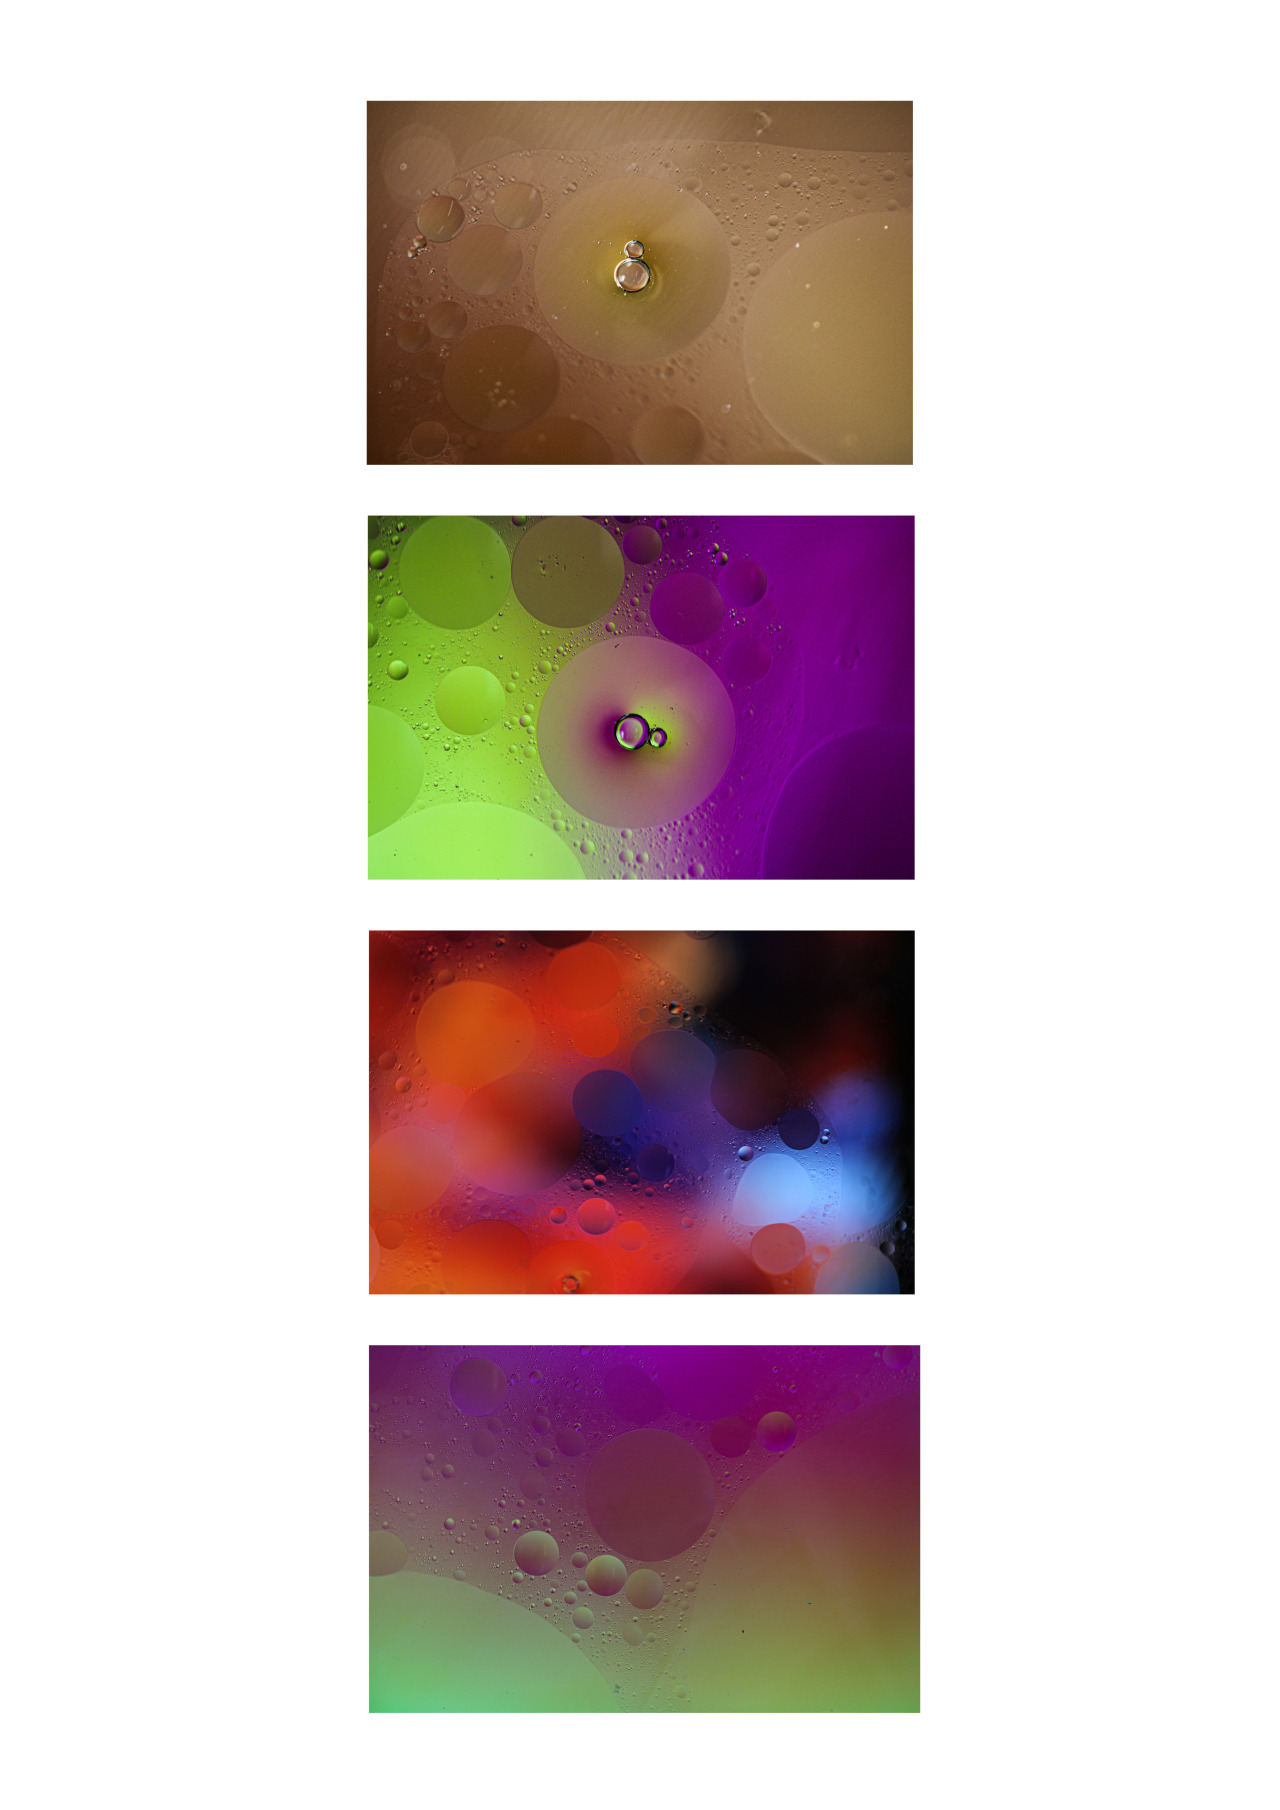
This week we were taking pictures of oil in water.
Underneath the dish of oil and water, we were asked to use an iPad and find colourful backgrounds to use, to give these cool effects in the images.
These are my final images that I have taken and edited:
For this week, we were asked to bring some single use plastic items and some fabric/clothes.
For these images, I have decided to use a plastic knife that I twisted and snapped in half to get this cool effect. In my opinion, the twisting of the plastic made it look like it was melting off.
I think it looks very creative and unique, and so far, these are my favourite macro images.
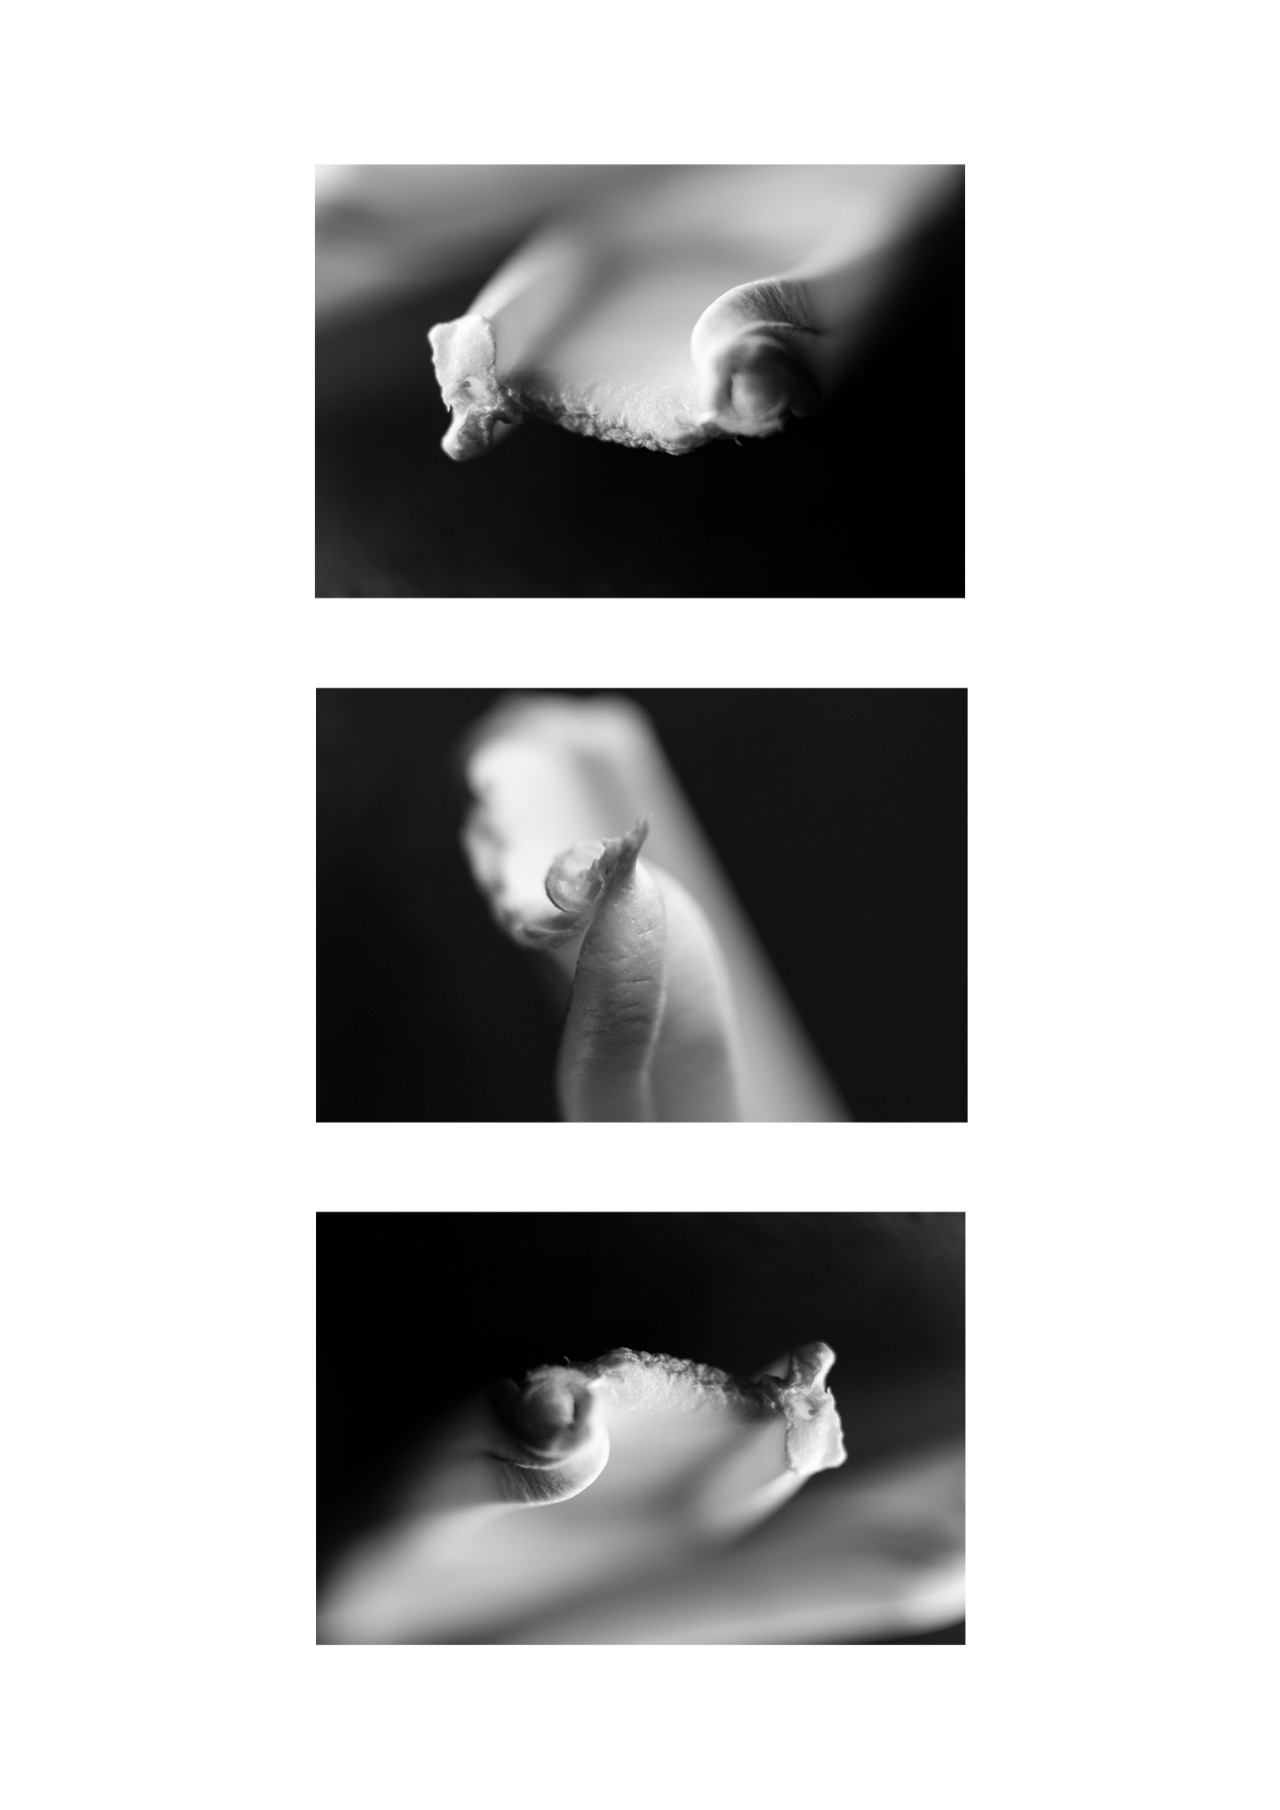
For this shoot, my camera was set on Manual setting. The ISO was set on 400, the aperture was on F5.6 and the shutter speed was on 1/125. I have also used extension tubes.
In this post, I will research different equipment for Macro Photography. In studio, I was able to use two of the equipment below which were the Macro Lens and Reversing Ring.
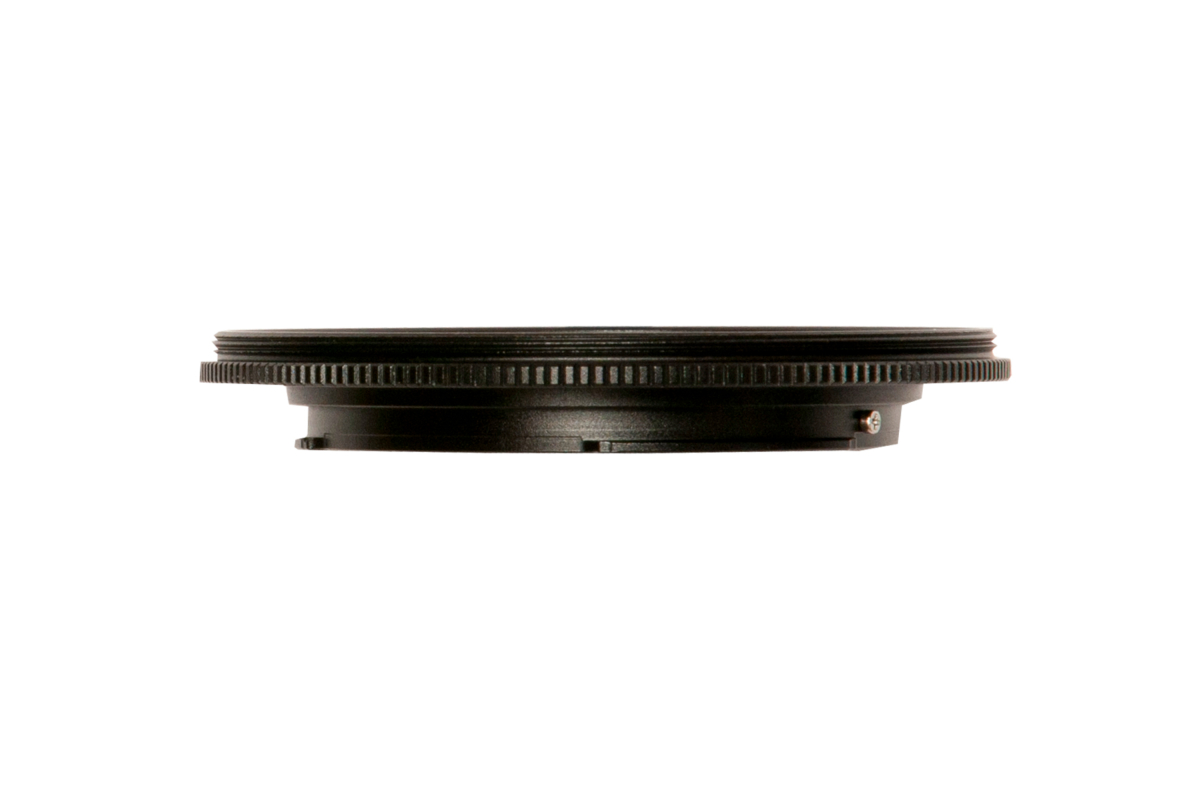
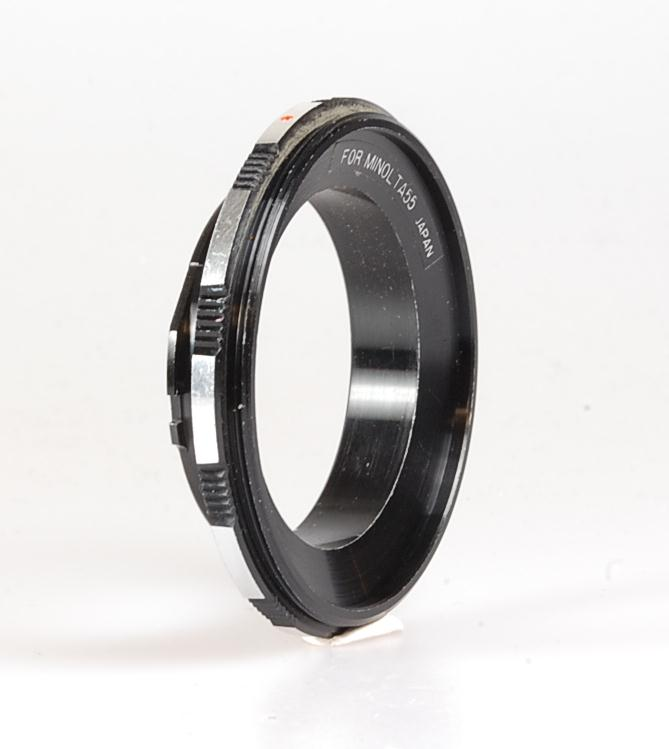
Reversing Ring is a ring that attaches to the camera in the ‘wrong way’ which then makes the lens become a magnifying glass that you can use to take macro images. It is one of the cheaper options.
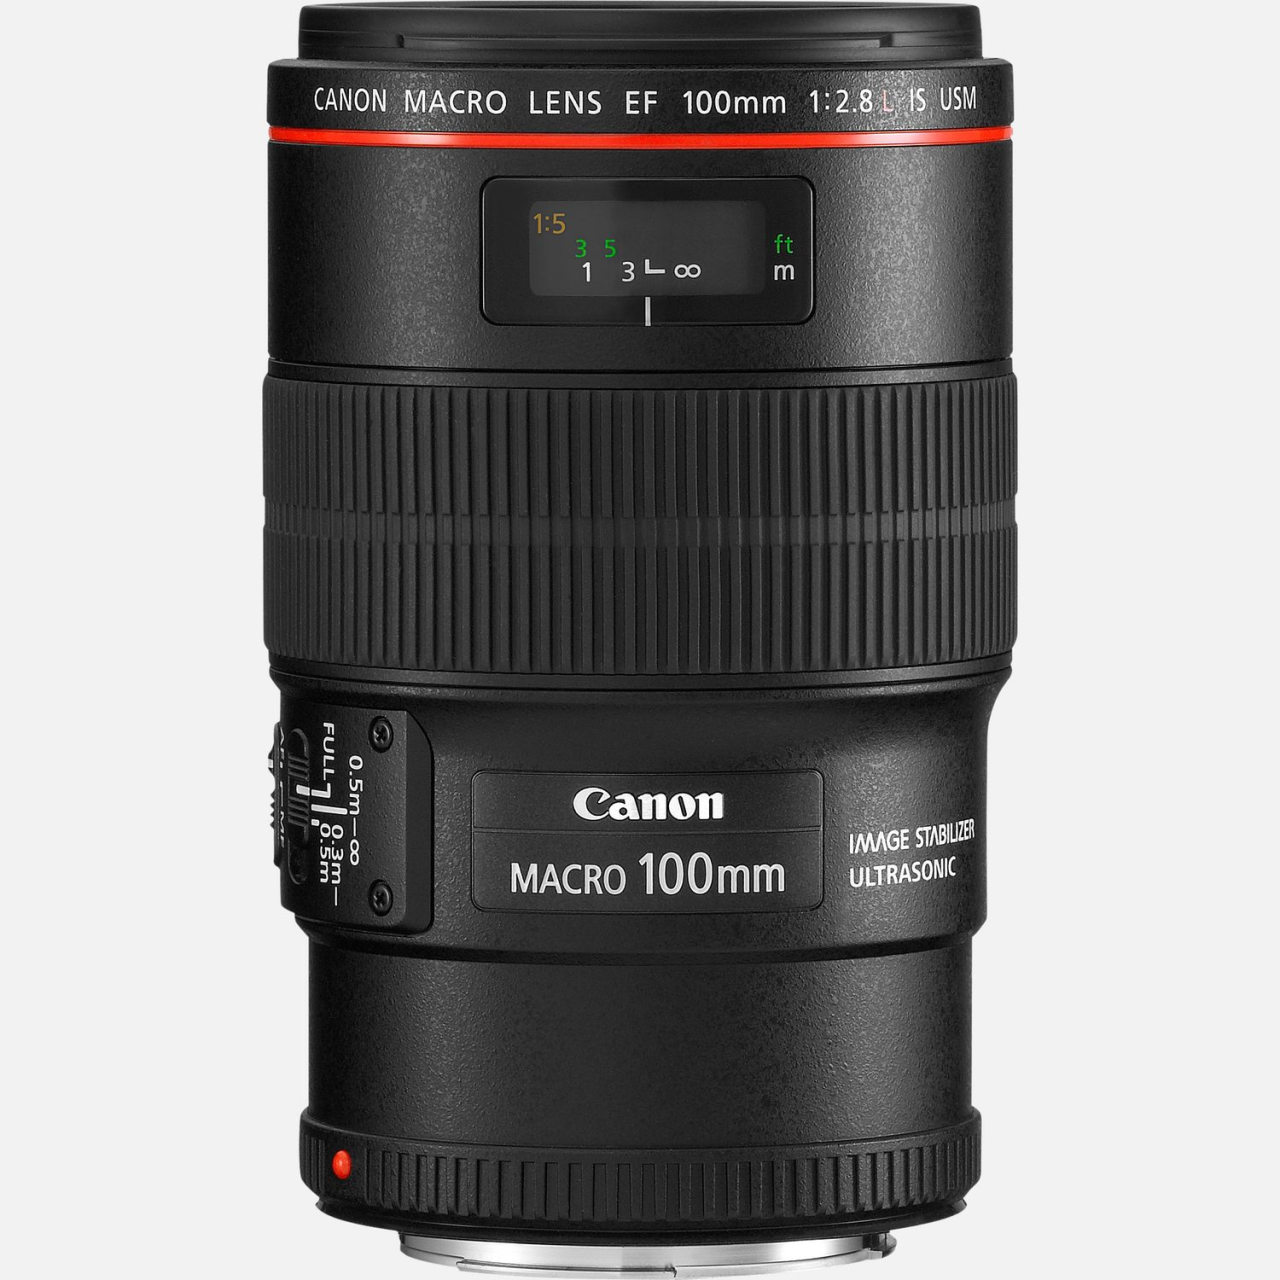
Macro Lens, is a lens that is very simple to use as you just attach it to you camera and it’s specifically created to take macro images, it lets you get close to the subject and get a sharp image and makes the background blurry. It is one of the expensive options.
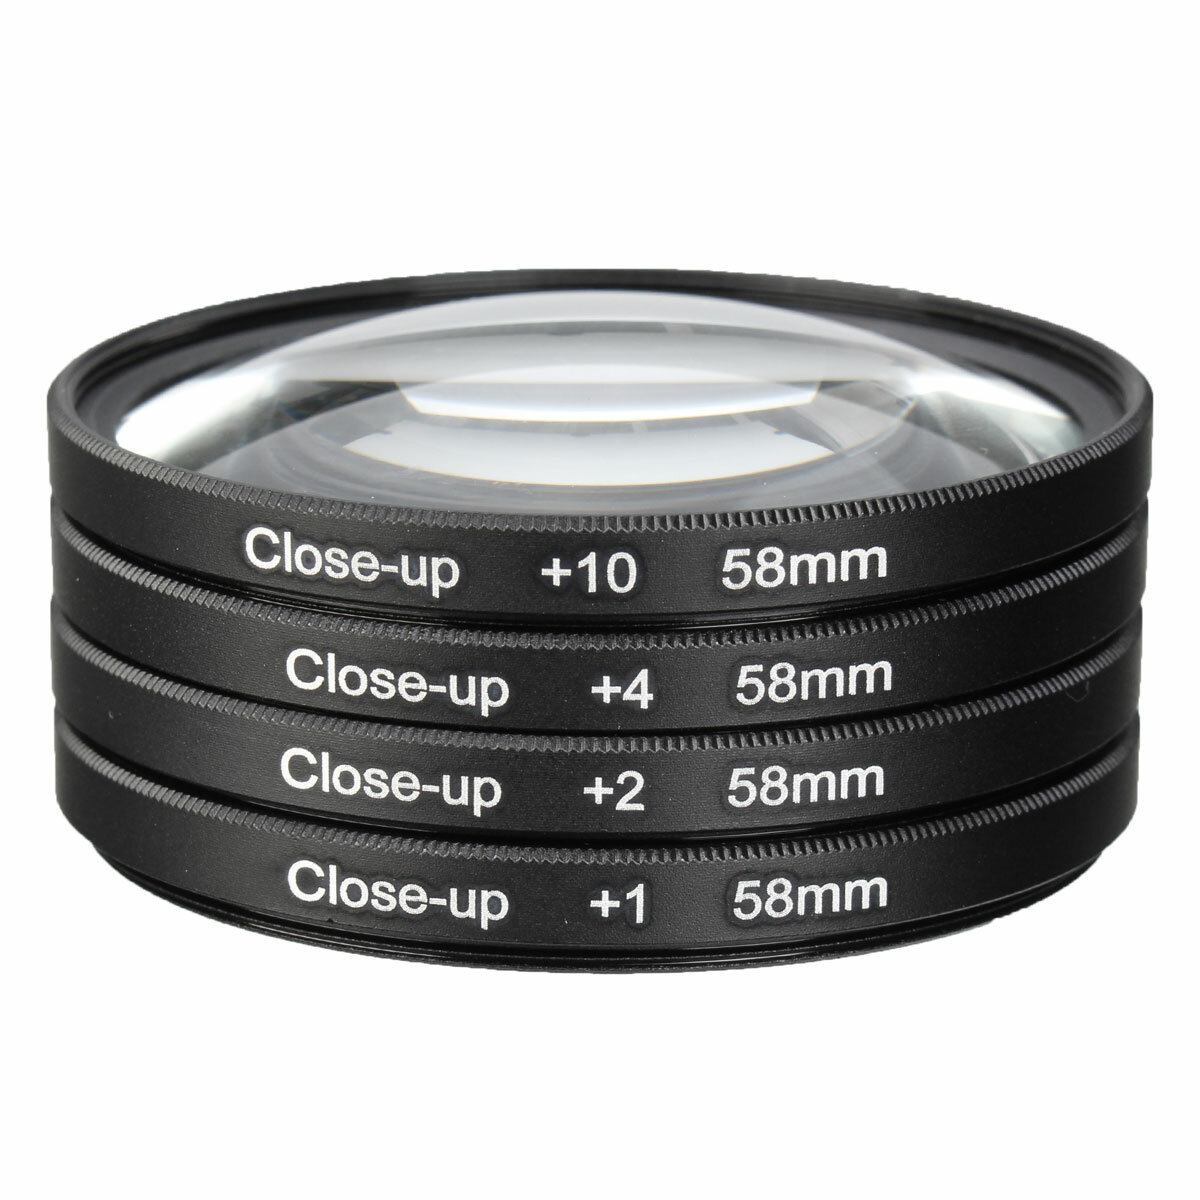
Close Up Lens is not as good at the macro lens as it doesn’t really allow you to get as close as you can with the macro lens. Close up lens is a very good option for you to start your journey with macro photography. You attach the close up lens to your normal camera lens. This is one of the cheaper options as well.
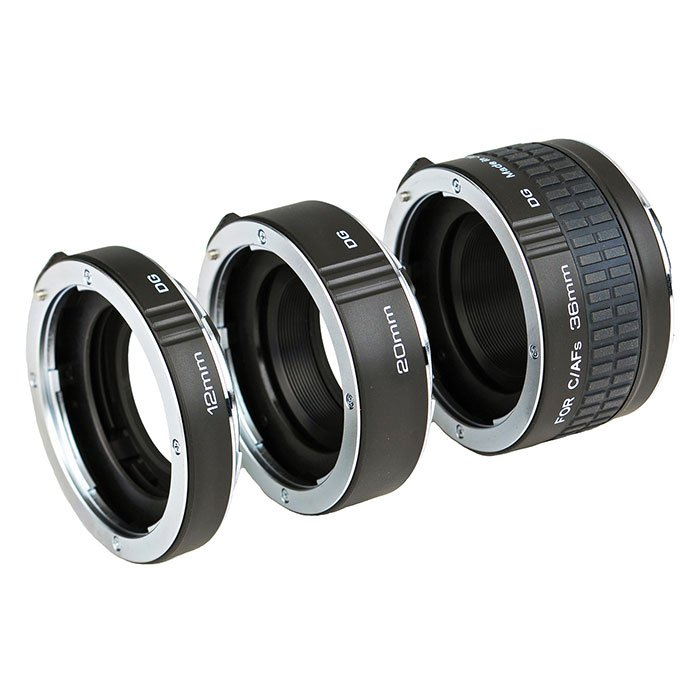
The Extension Tubes are attached to your camera lens as an extension, each lens can be used individually or all together. With each lens you get different result, as you can decrease and increase the magnification. When using all of the lenses together, you can get as close to the subject as you can, the same way you can with the macro lens. It is one of the expensive options.
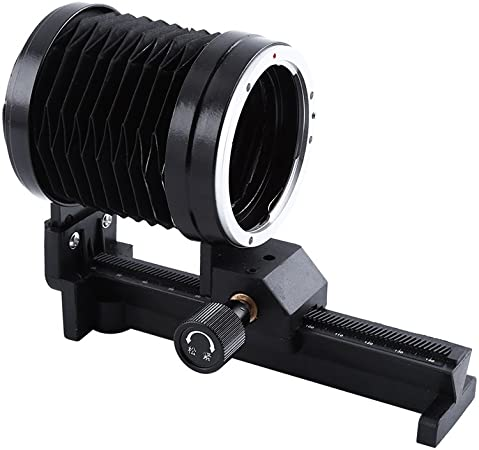
The Bellows extension is an extension that can be added to your camera and can be extended back and forth which may look like an accordion. By moving it back and forth it lets you get as close to the subject as you can. The Bellows work in a similar way to the Extension Tubes. It is not really expensive.
Equipment that can be useful while doing Macro Photography:
LED Panel Light - to brighten the area you are photographing.
Tripod - to steady the camera and avoid camera shake.